{{results.length}} Result(s) matching {{term}}
-
{{result.title}}
{{result.url}}
Let's walk through a quick tutorial on how to get Zapier working with Ministry Sync. This is not meant to be an exhaustive demonstration of the power of Zapier. The goal is to leave you with a good idea of how to get started quickly using Zapier and Ministry Sync.
This setup process can be broken down largely into two main steps:
The first is a short process that takes place in Ministry Sync. The second is entirely accomplished within Zapier.
From your event's sidebar, select Event Integrations.
If this is the first time enabling Zapier, Click "Connect" on the integration block in the list that says Zapier.

If you have a pre-existing Zapier integration already, you will see a toggle switch on this block. Toggle the switch to "ON" then click your API Key to to view the instructions popup window.

The instructions popup window will help you to connect Zapier to Ministry Sync. Click the links from this window and follow the instructions below to set up your "Zap" on the Zapier side.
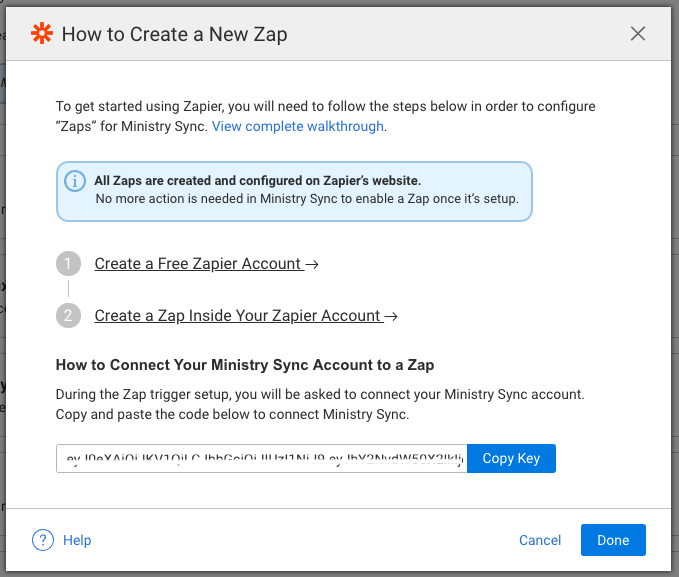
This view will walk you through the step-by-step process of setting up your Zap. (screenshot shown below)
The left panel shows the flow of the Zap (shown with screenshot annotations).
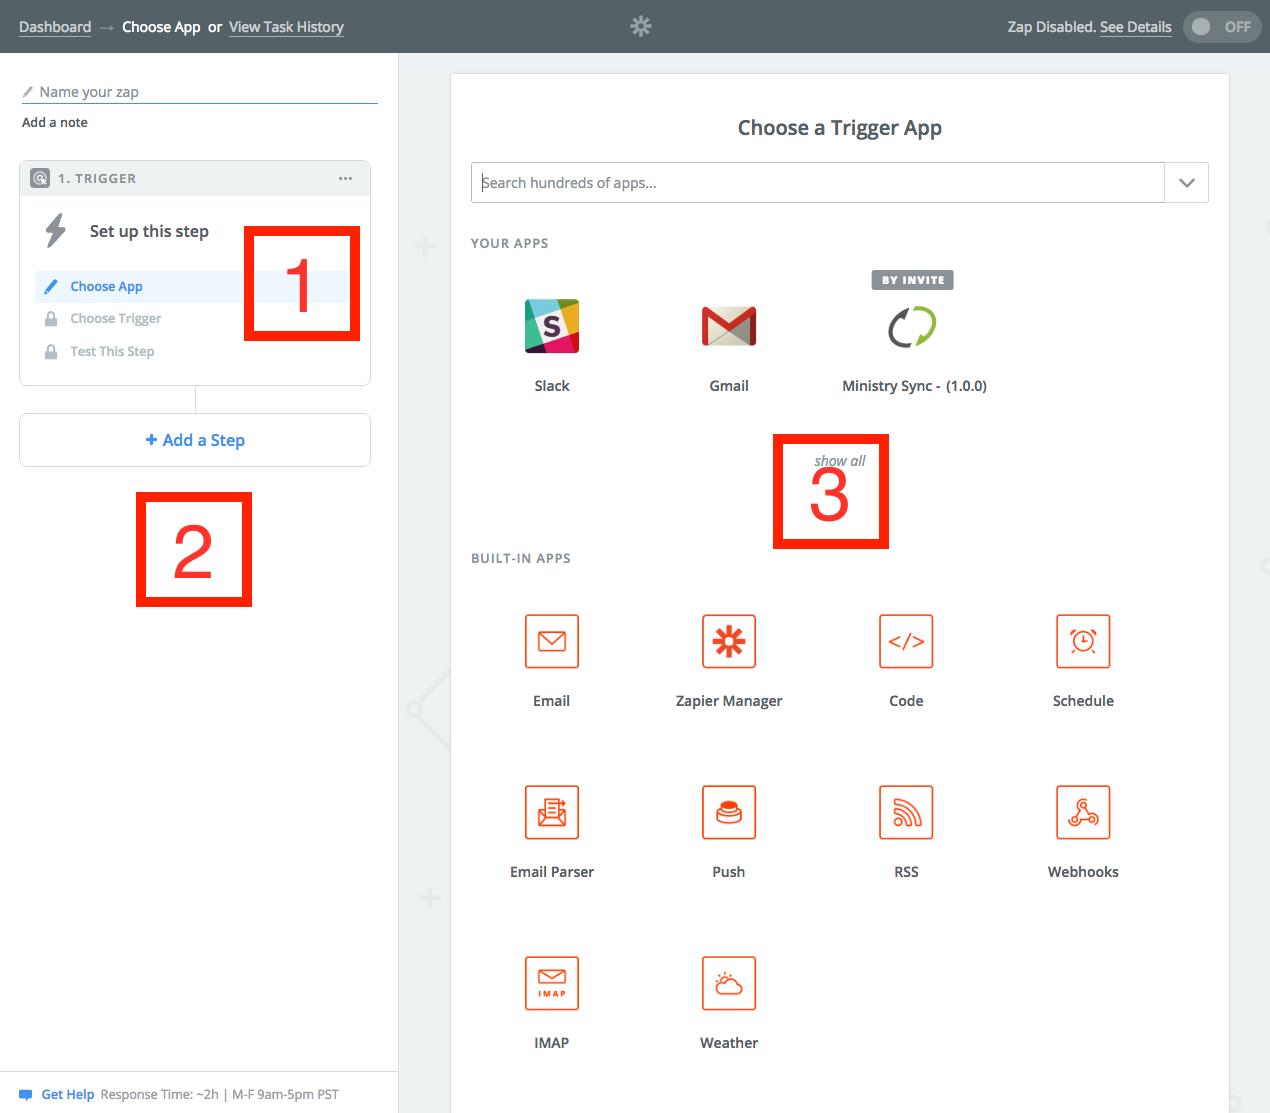
Choose App
The initial step is choosing the App which the data is coming from. In this case, you will search for Ministry Sync from the dropdown search bar.
Choose Trigger
The next step is choosing an actual "Triggering Event." This is the action that happens in the app that initiates data flow. In this scenario, we will choose Registrant Created because we want to be notified when a new registrant is created. Click Save + Continue to proceed.
Choose Account
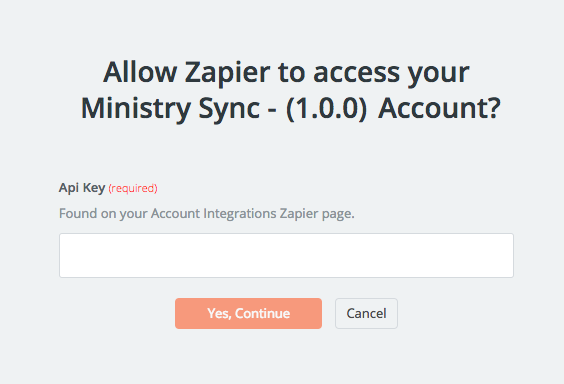
This step is where the API Key from our first primary step within Ministry Sync is needed. Click Connect Account and paste your API Key in the entry field.
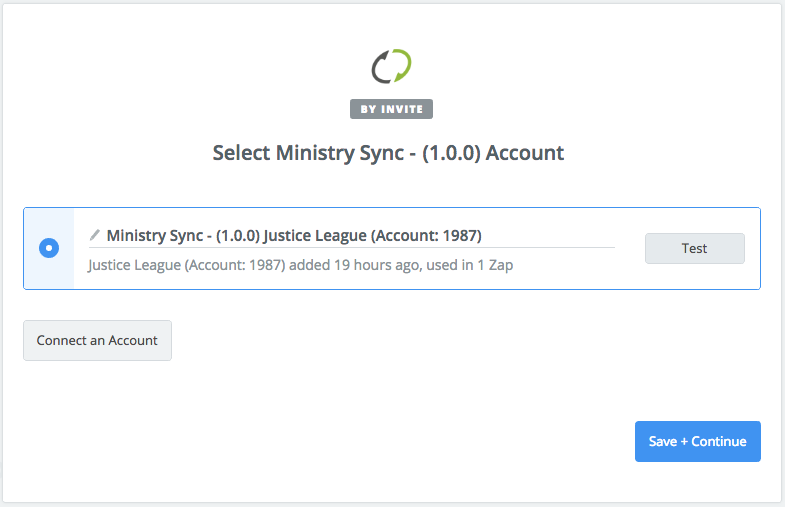
Test the connection by clicking Test. After you see a successful connection, you can click Save + Continue
Additional Trigger Options
This tells Zapier if you want the Zap to work for all your Ministry Sync events or just for one event. If you select “Trigger for only 1 event in Ministry Sync”, you will need to tell Zapier which event you want the Zap configured for. Click Continue.

Test this Step
This step will attempt to pull in sample data. This step helps to establish fields (First name, Last name, Email etc) to use in the following Action steps. It is easiest to proceed by using the built-in sample data.
To do so, click "Skip this step" and "Continue with Default Sample." (Or you may try to "Pull in My Samples")
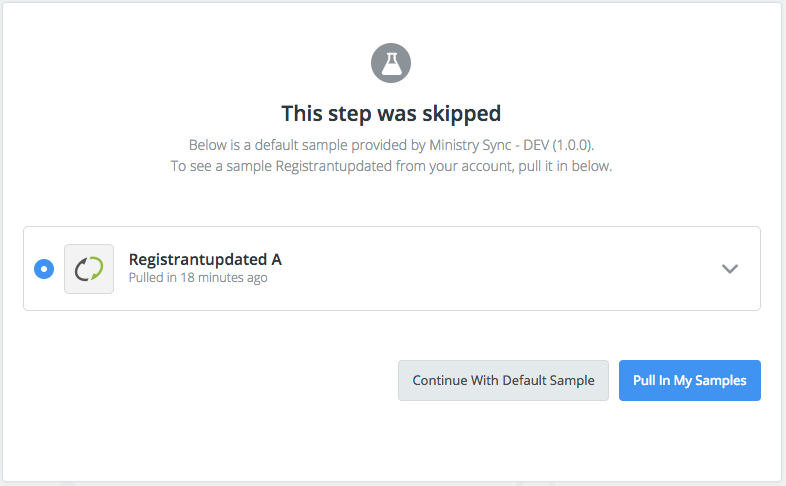
Note: If no data is yet available in your account (e.g you may not have any registrants), then default sample data may be provided for you by the system instead.
The action step portion of your Zap is where your data can come alive. This is where you can connect the data to any of the 1,000s of third-party applications that are compatible with Zapier.
Action steps may require accounts with other third-party applications. Each application has it's own configuration that is performed within Zapier. As such, we cannot provide tutorials or support for all available integrations. Zapier does include setup resources for available applications in its Help Documentation.
The left pane will now let you configure these Action Steps.
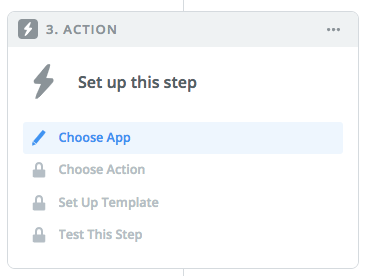
The basic flow of the Action setup process (followed again by the left pane) is:
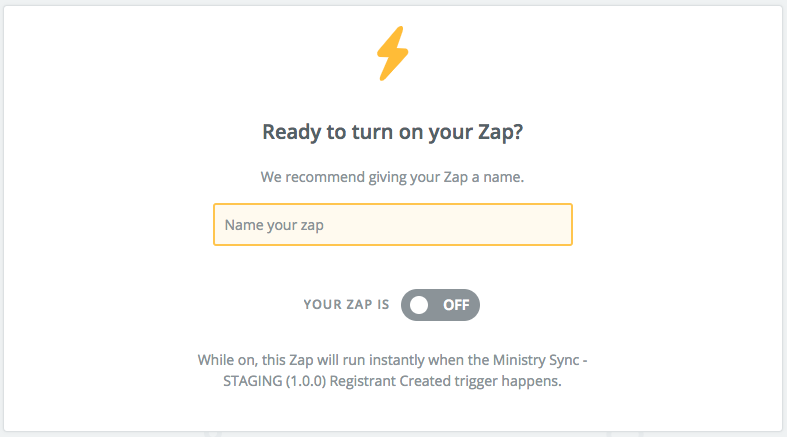
Once you continue through all these steps, you can Name your Zap (if you haven't already) and enable it by flipping the switch to ON.
If you would like to see a simplified action step which connects to Slack, you may watch the provided tutorial below or visit the link to see what kind of actions can be performed using Slack within a Zap.
This page was helpful! 👍 This page needs help. 🛎
Thanks for your feedback.