{{results.length}} Result(s) matching {{term}}
-
{{result.title}}
{{result.url}}
To add a Webhook integration, you will need to visit the Webhooks section of your account.
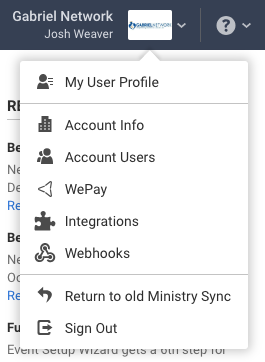
Click your Account Menu at the top right of your screen and choose Webhooks.

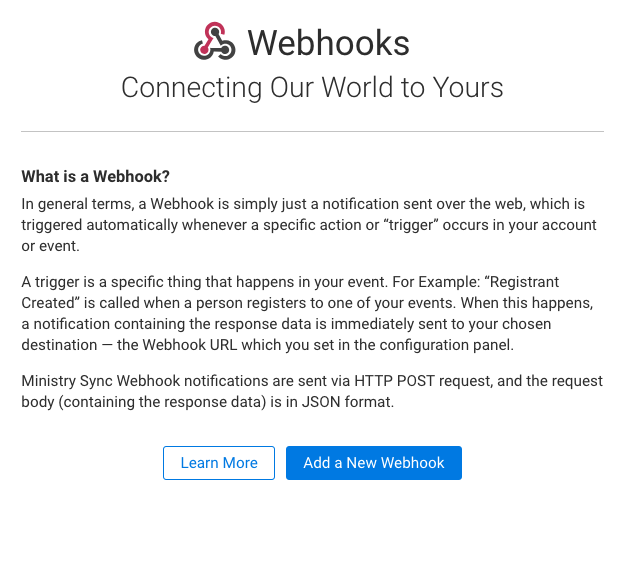
If you have no prior Webhooks, you will be presented with a Webhooks intro screen:

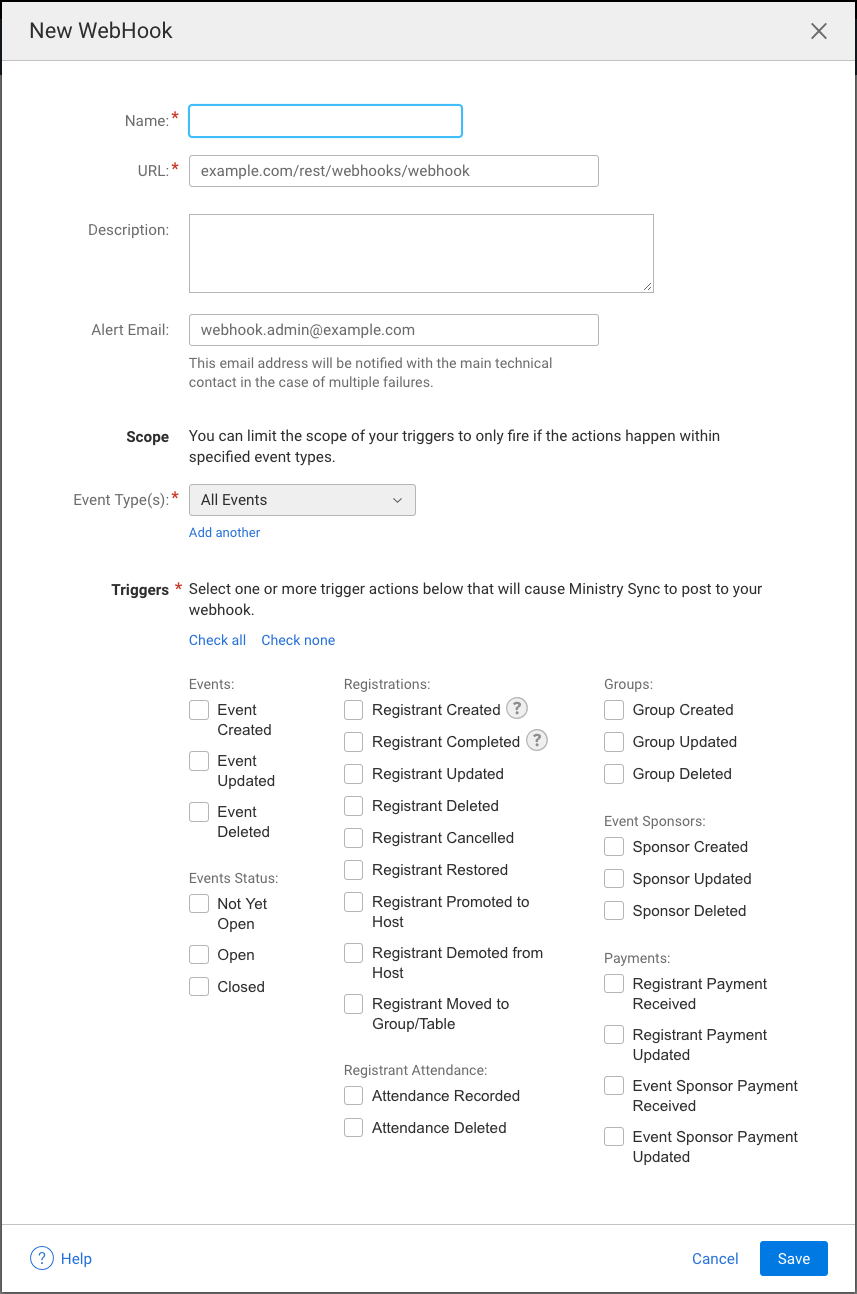
Clicking Add a New Webhook will present you with the New Webhook Form.
The "New Webhook" form has all the configuration for setting up your integration for single or multiple Event Trigger types. See the table below the screenshot for information pertaining to each particular field.
| Field | Description |
|---|---|
| Name | A short name for your webhook integration |
| URL | The Endpoint that you would like us to deliver the data payload to |
| Description | An optional description used for your own purposes |
| Alert Email | An email address that will be notified in the event of failures |
| Scope | Allows you to choose specific event types to receive data about |
| Triggers | Choose which types of actions in Ministry that will initiate data being sent to your endpoint |
When you've selected and filled in the appropriate information, click Save.

Depending on which Trigger(s) you have selected for your webhook, our server will start to attempt to deliver POST requests to the endpoint specified in the webhook form's URL field (shown above) with a data payload matching that trigger resource's particular structure.
If your webserver returns anything other than a 200 or 201, or it is not reachable, our delivery service will try again for up to 12 hours. After this period of retries, it will disable your webhook in your Ministry Sync integrations dashboard. Your account Technical Contact and alert email (if available) will be notified of these failures.
View the possible resource structures.
This page was helpful! 👍 This page needs help. 🛎
Thanks for your feedback.